Vembu: How to Setup Immutable Backups to AWS S3
As most of you know, in the data protection realm, you want to follow the 3-2-1 rule! 3 copies of your data, on 2 types of media, 1 being off-site. I have an external HD that I backup my home-lab to with Vembu. See THIS post to see how I did that. I next setup a replication job to copy/replicate that data to an AWS S3 bucket. However, by default, S3 buckets are NOT IMMUTABLE.

With Ransomware being so rampant today, you want to make sure you’re backups are UNTOUCHABLE! This means, if your data gets encrypted, your backups DO NOT.
To do this, I found an option for the S3 buckets called OBJECT LOCK under ADVANCED SETTINGS. This permanently allows objects in that bucket to be locked. This puts the objects in that bucket into a “write-once, read-many” model.
UNFORTUNATELY, you cannot just turn this on for a bucket with data in it. So, below you’ll see how I created a new bucket and how I modified my Vembu job to use this bucket.
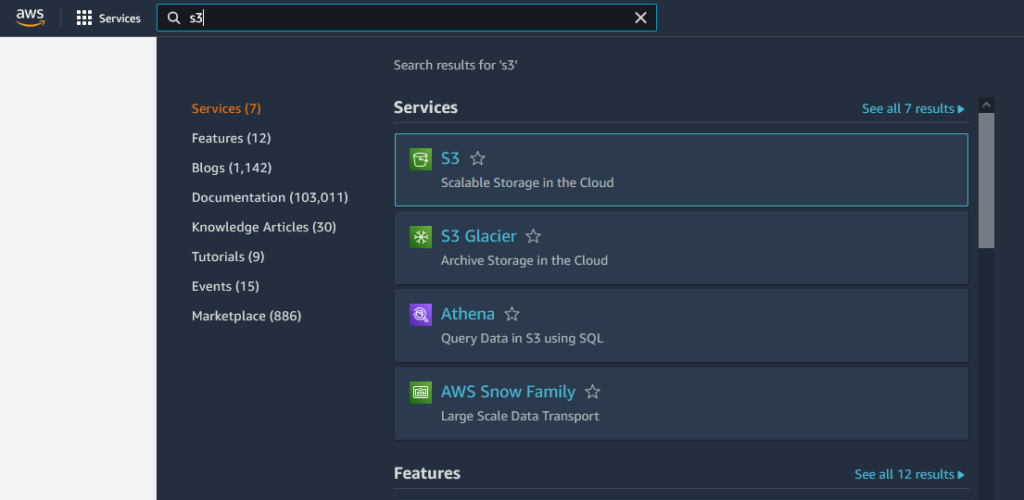
First, go to https://aws.amazon.com. In the search bar, type S3 (or click it if it’s in your recently used.
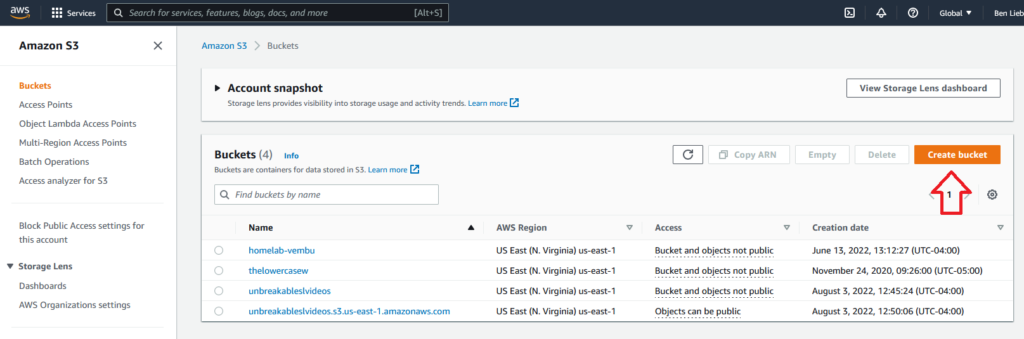
On the left side, under BUCKETS, click CREATE BUCKET.
Create a new bucket. The name must be lowercase with no spaces. Some characters are also not allowed. You can find the AWS Bucket naming rules here.

Setup the rest of the settings for your new bucket and scroll down to the bottom to ADVANCED SETTINGS – OBJECT LOCK.
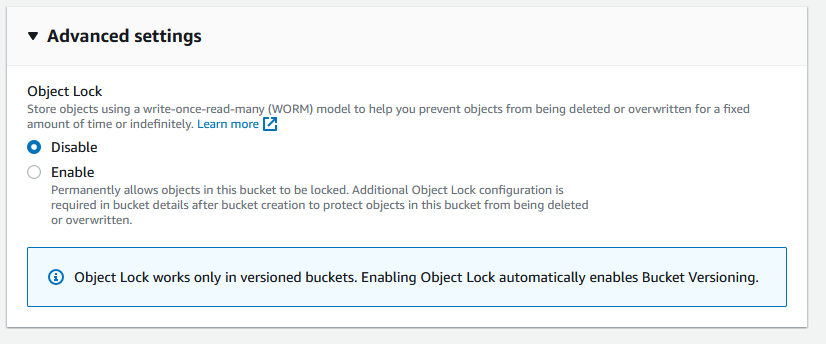
Click ENABLE and VERSIONING automatically gets enabled. Click the box to acknowledge that Object Lock will Permanently allow objects to be locked.

Now, you can see my two buckets that I use with Vembu.

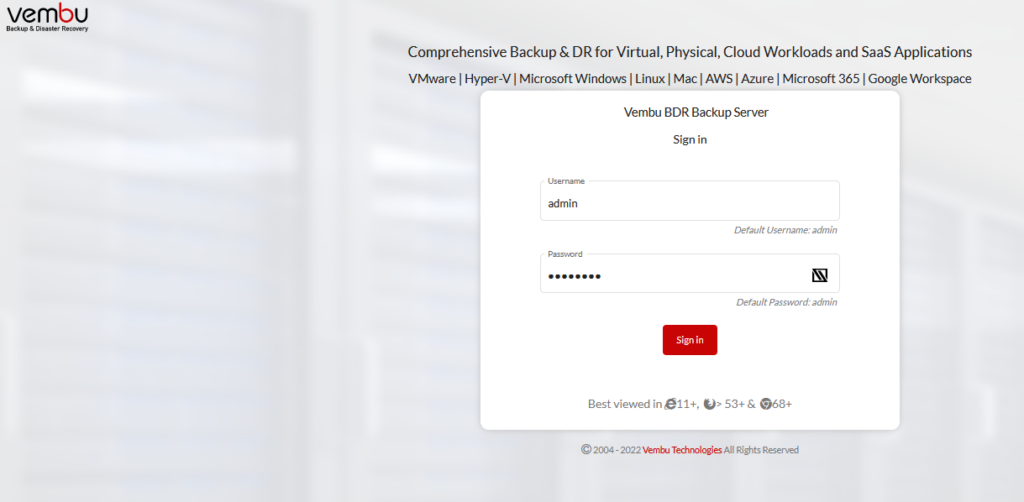
Next, it’s time to tell Vembu to backup to this new bucket! First step, is to LOGIN!
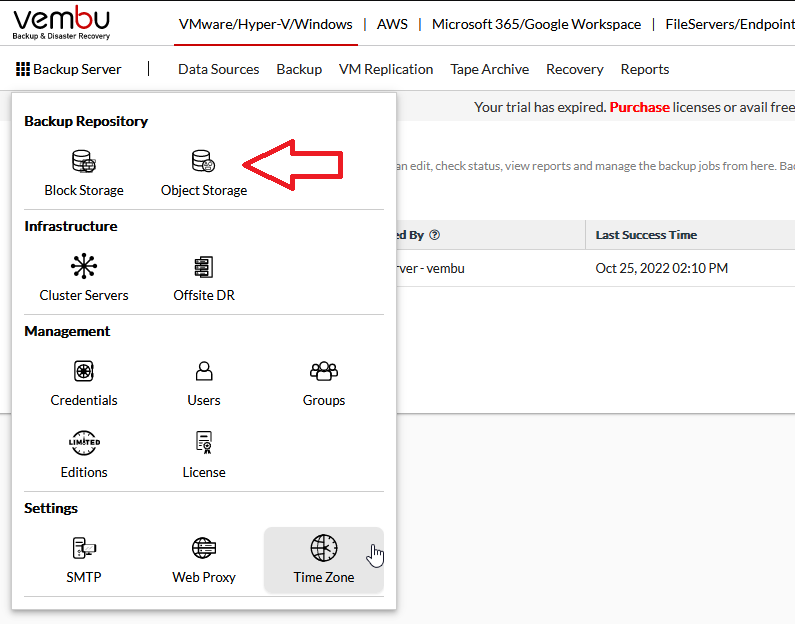
Once signed in, I’ll need to create a new backup repository. First, click the BACKUP SERVER and go to OBJECT STORAGE
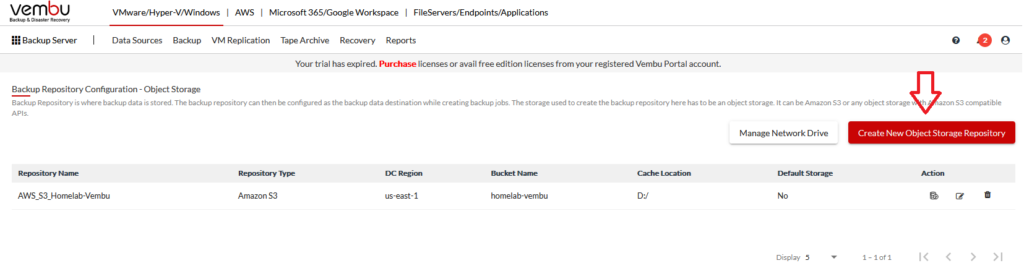
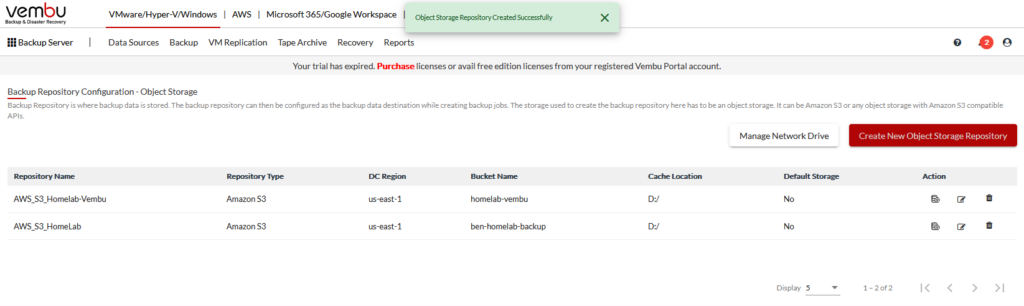
Here, we’ll see where I created my S3 storage repository. Next, we’ll need to create a new repository that points to my new bucket. (You cannot edit an existing repository to point to a new bucket.)
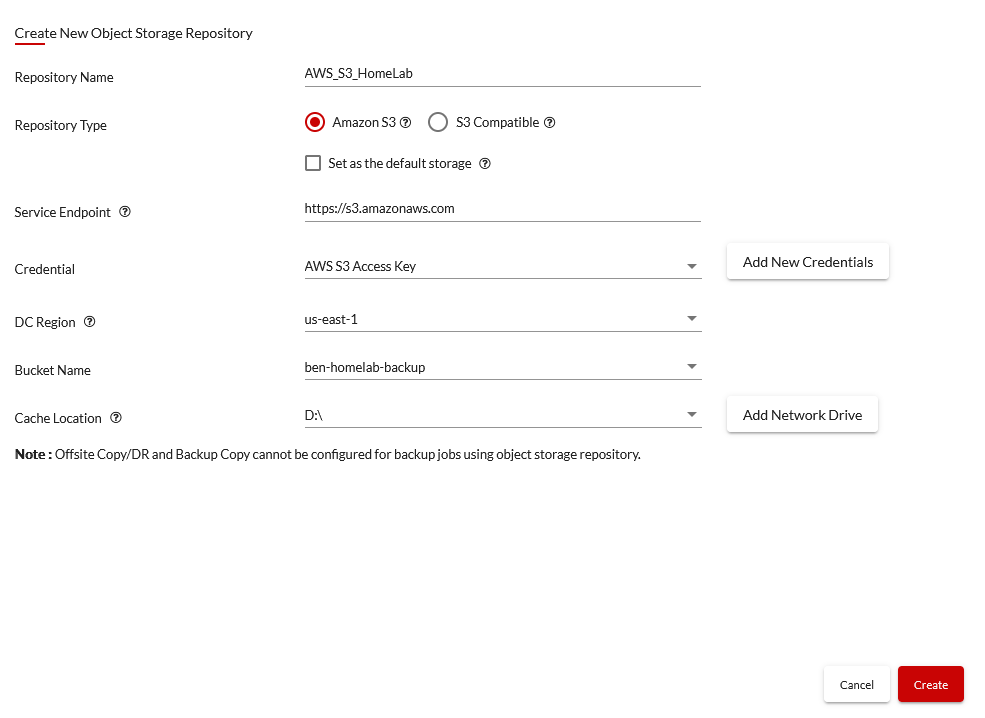
Here, I’ll give it a name, select my credentials (which were already stored from the last repository setup), a region, and the bucket name. Also, you need to set a cache location.
After you click Create, you’ll see your new repository listed:
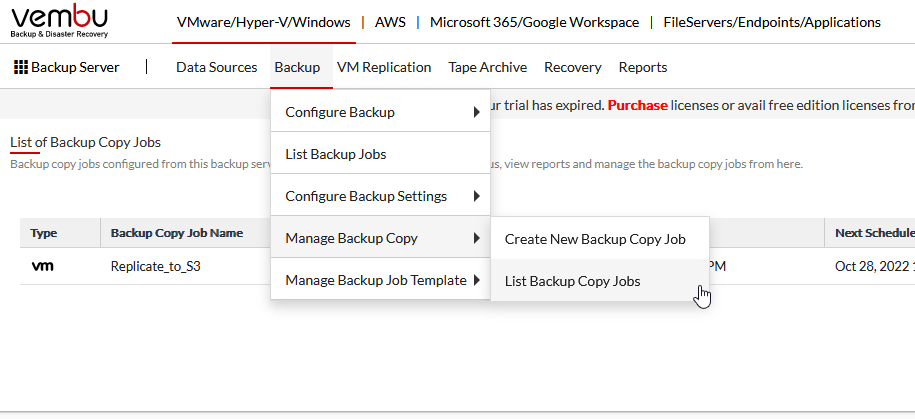
Next, we need to go to BACKUP – MANAGE BACKUP COPY – LIST BACKUP COPY JOBS
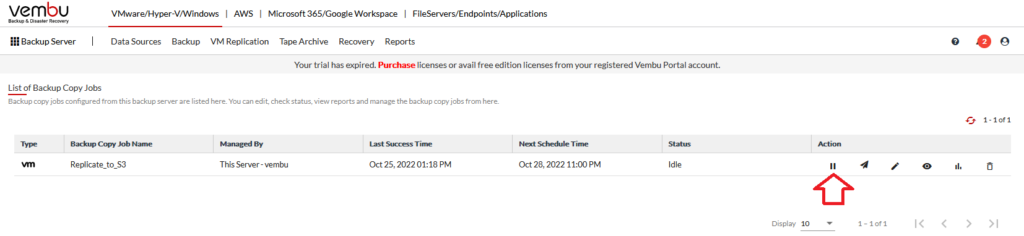
Now, we need to setup a new backup copy job. First we need to pause the existing job.
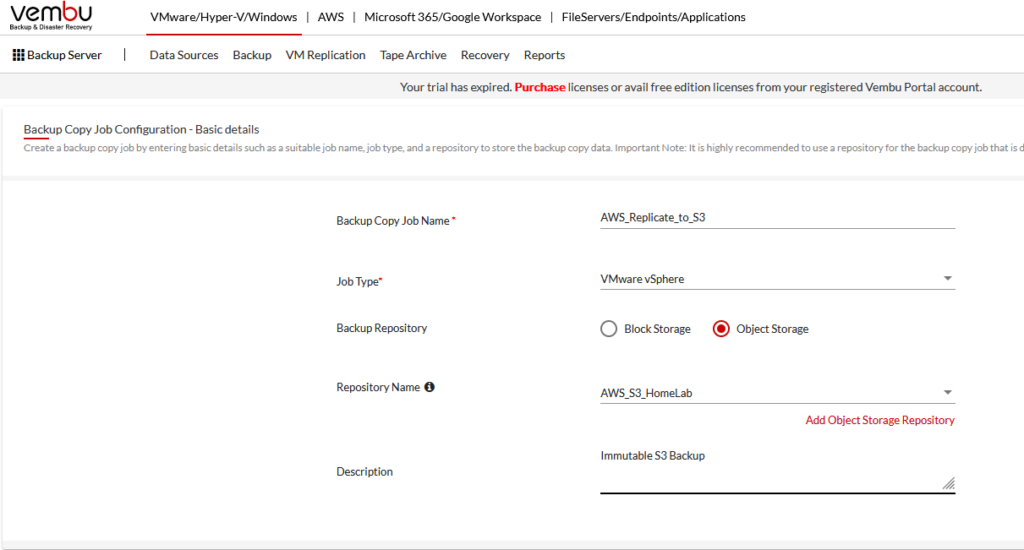
Click BACKUP – MANAGE BACKUP COPY – CREATE NEW BACKUP COPY JOB

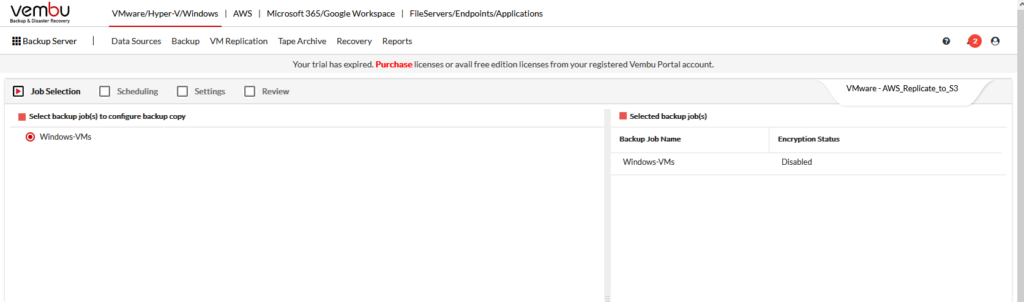
Give your backup copy job a name, choose the type, the repository type (Object here), Repository name, and a description if you wish.
Next, choose the backup job you want to replicate.
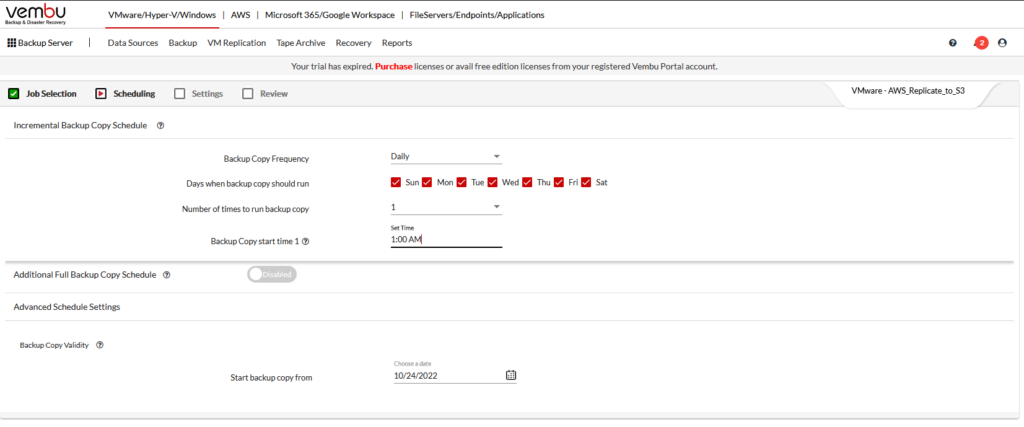
Next, setup a schedule. I choose daily at 1am to replicate to AWS.
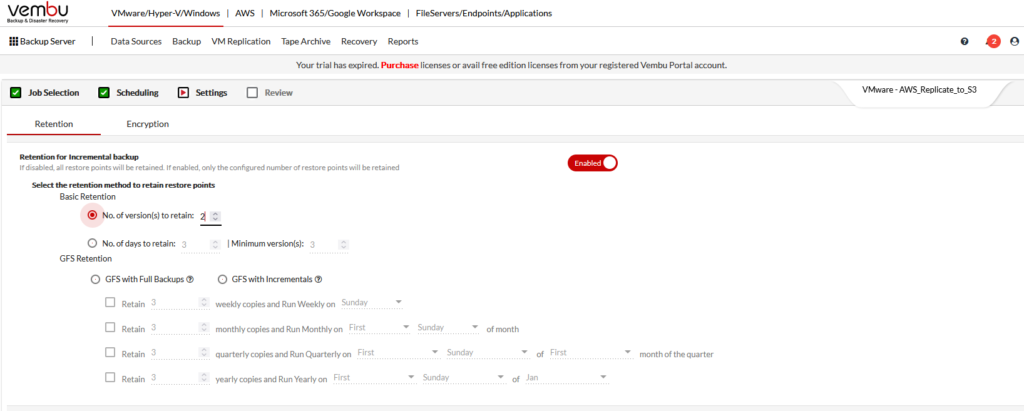
Choose how many copies you want to retain, etc.
*** Keep in mind, the more copies you retain, the higher your S3 bill will be! ***
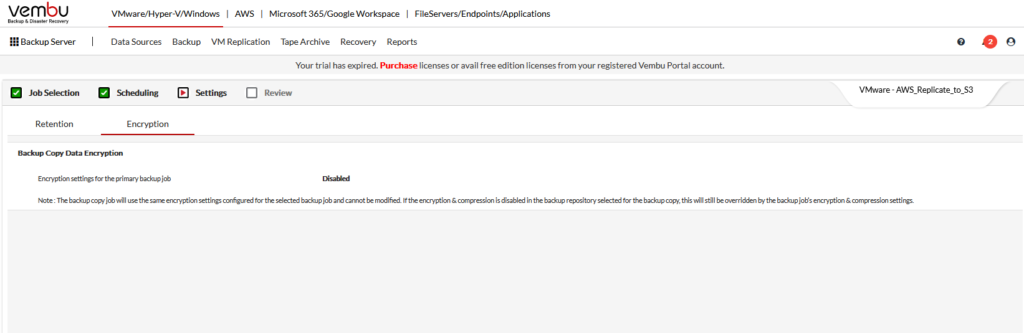
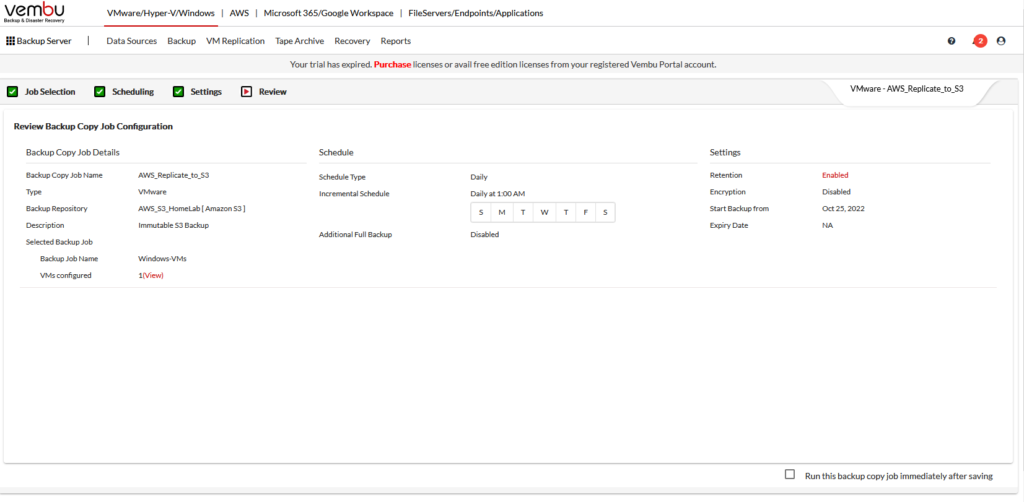
I’m not using Encryption, so I clicked NEXT for review
Here’s a summary of my backup copy job.
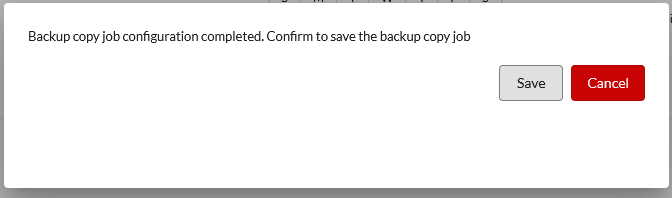
At the end, I clicked SAVE.
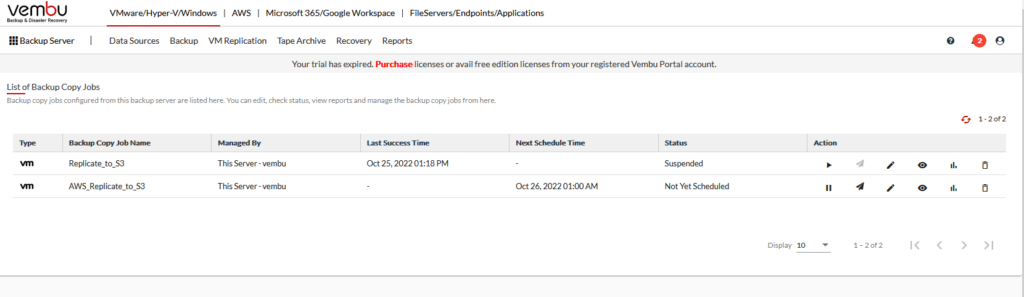
Now, we see my original job is suspended and my new job is ready to go.
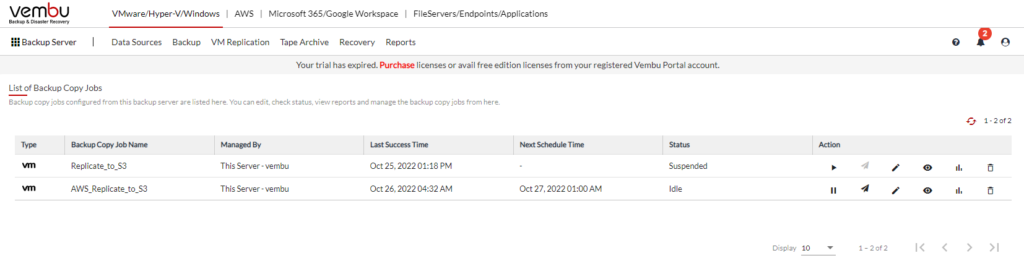
Here you can see, the job ran successfully last night.
As a follow up, I’ll go and delete the old S3 bucket so I don’t get charged for having the data stored twice. 🙂
You can download VEMBU here!
- Want to get more information on Vembu & VMware? Check out the product page here!
Vembu VMware Product Page - Part 1 – Deploying Vembu BDR Suite (System Requirements)
https://www.thelowercasew.com/deploying-vembu-bdr-suite - Part 2 – Deploying Vembu BDR Suite (Installation)
https://www.thelowercasew.com/deploying-vembu-bdr-suite-part-2-installation - Upgrading Vembu BDR Suite to version 5.2.0
https://www.thelowercasew.com/new-vembu-bdr-suite-release-version-5-2-0 - Part 3 – Deploying Vembu BDR Suite (Configuration)
https://www.thelowercasew.com/deploying-vembu-bdr-suite-part-3-configuration - Part 4 – Deploying Vembu BDR Suite (Replication)
https://www.thelowercasew.com/deploying-vembu-bdr-suite-part-4-replication - New Vembu BDR Suite v5.3
https://www.thelowercasew.com/new-vembu-bdr-suite-v5-3 - Vembu BDR Suite v5.3 – Endpoint Backups
https://www.thelowercasew.com/vembu-bdr-suite-5-3-endpoint-backups - Vembu BDR Suite 5.3 – Microsoft 365 Backup
https://www.thelowercasew.com/vembu-bdr-suite-5-3-microsoft-365-backup
Ben Liebowitz, VCP, vExpert
NJ VMUG Leader