Deploying Vembu BDR Suite (Part 3 – Configuration)
After you install Vembu, the first thing you you need to do is LOGIN!
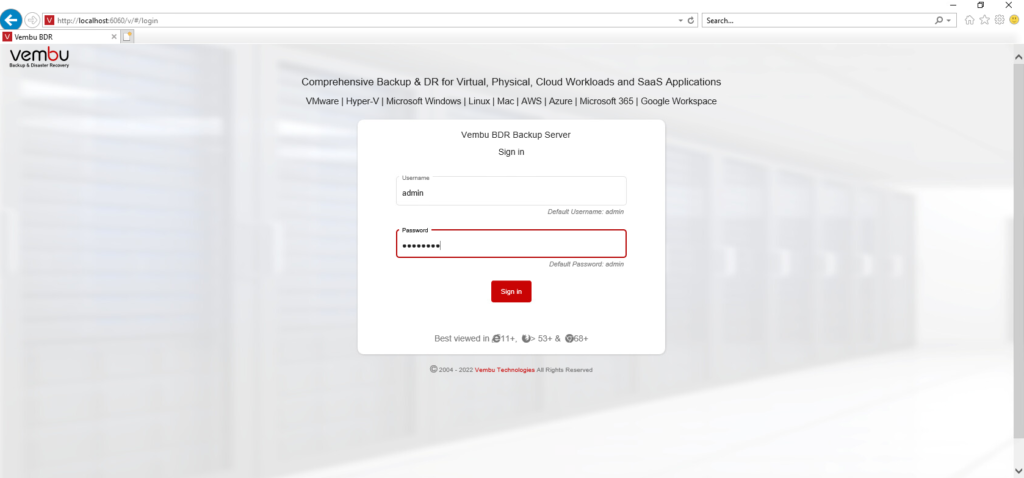
Once you double click and launch Vembu BDR, you’re prompted to sign-in.
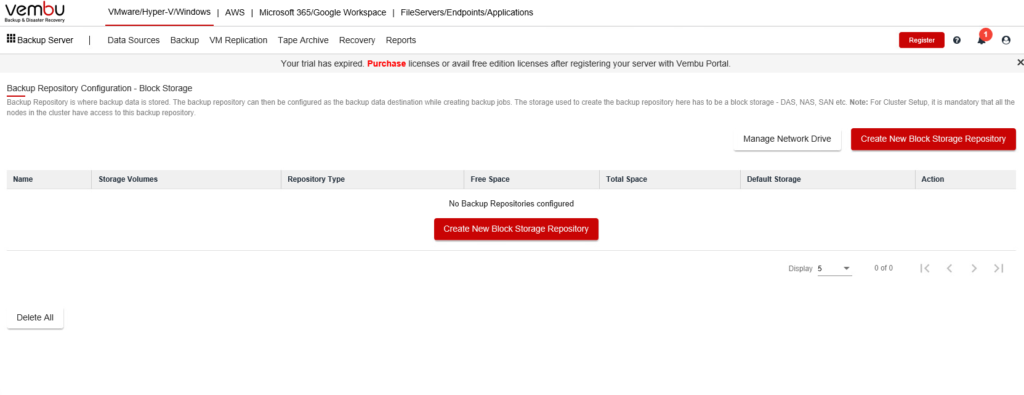
Now that we’re signed in, you can see the first step is adding a backup target. Lets click CREATE NEW BLOCK STORAGE REPOSITORY and get started!
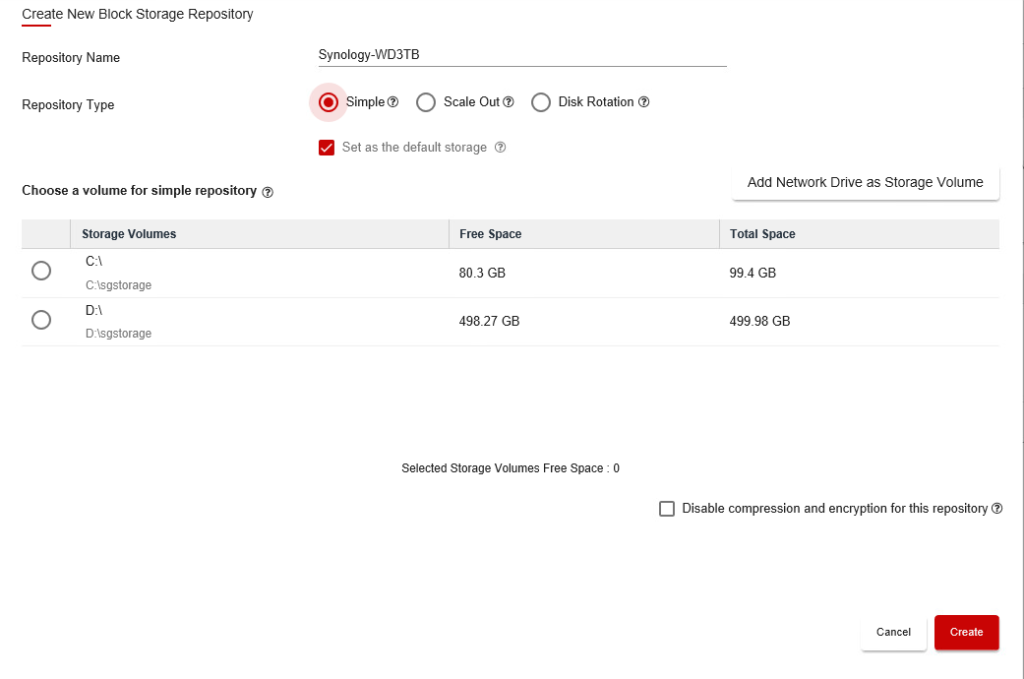
First, we need to give it a name. As I’m using a Western Digital 3TB USB HD connected to my Synology as the backup target, I named it Synology-WD3TB. I am choosing a SIMPLE repository and leaving it marked as default. Next, I’ll click ADD NETWORK DRIVE AS STORAGE VOLUME.
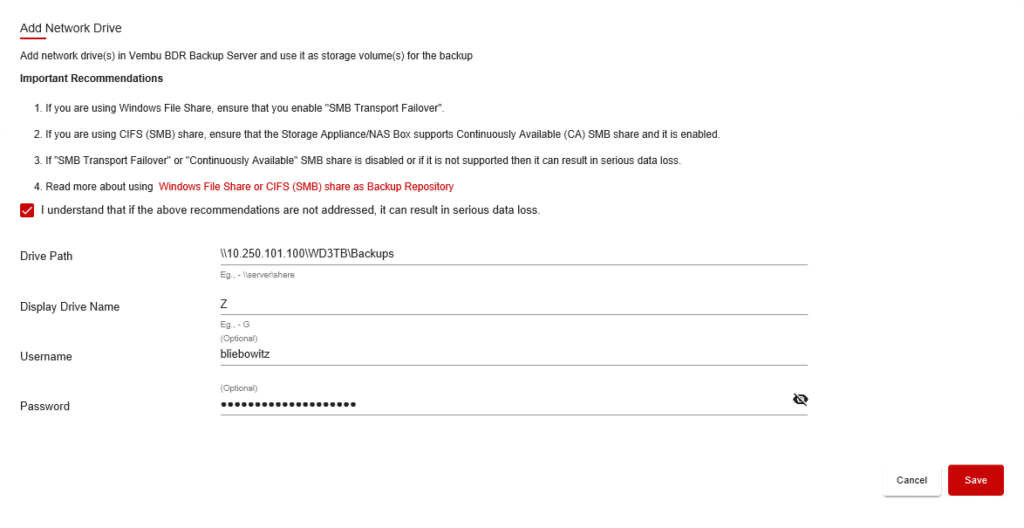
I clicked that I UNDERSTAND THAT IF THE ABOVE RECOMMENDATIONS ARE NOT ADDRESSED, IT CAN RESULT IN DATA LOSS, then entered my drive path, the display letter and credentials. Then clicked SAVE.
Now, we see the Z: drive listed under STORAGE VOLUMES. I clicked the radio button next to it and clicked CREATE.
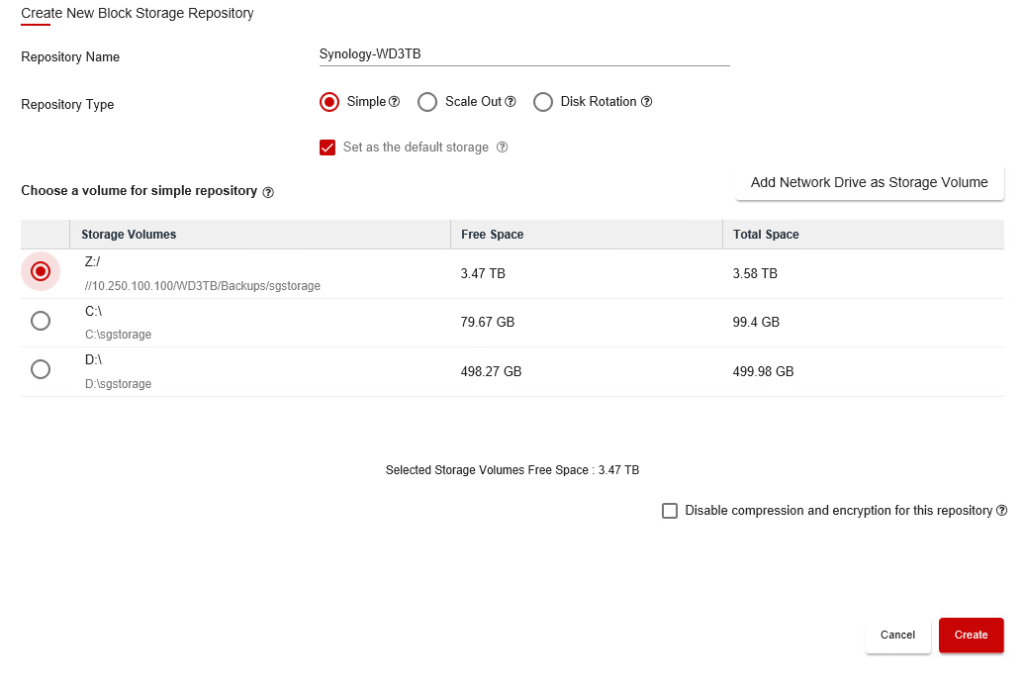
You’ll need to confirm before it’ll create the repository.

Now, you can see we have a repository created!
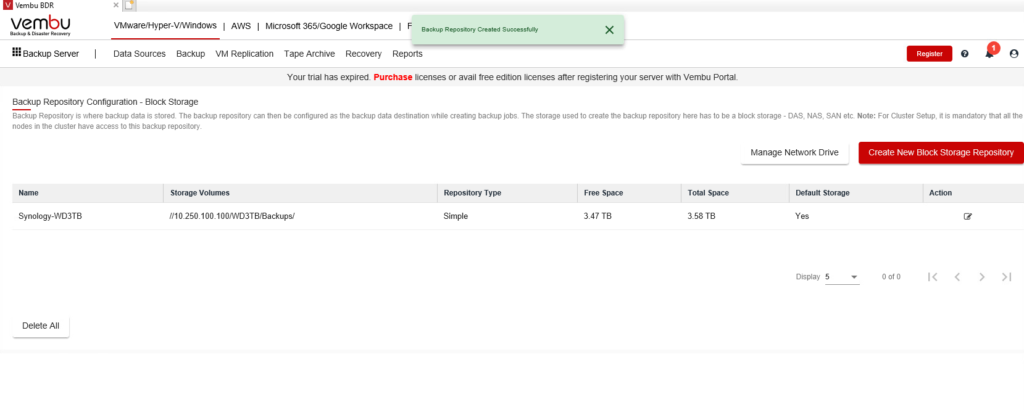
Next, lets point it at my vCenter!
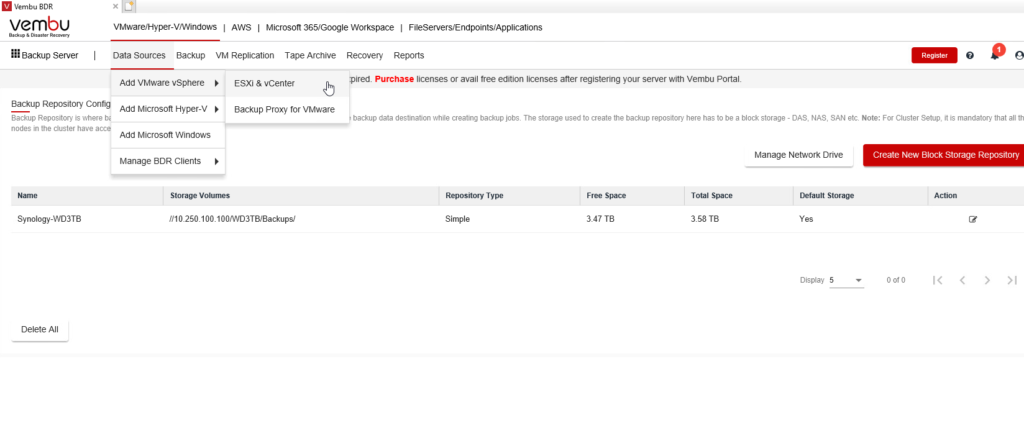
Next, we click ADD ESXi/vCenter Server
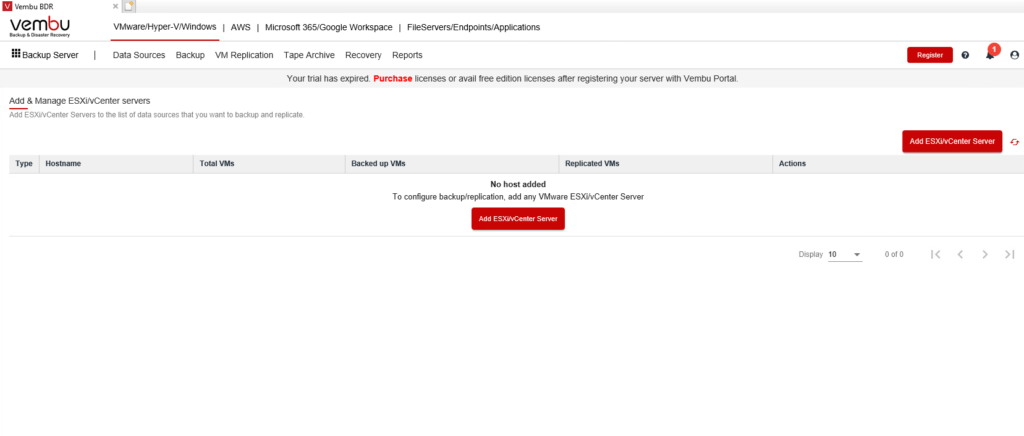
I changed the drop-down for TYPE to vCenter, and typed the name of my vCenter. But before I can click SAVE, I need to add the credential.

I entered my credentials and clicked SAVE.

Now, I can click SAVE and point it at my vCenter.

Now, we can see my vCenter listed.
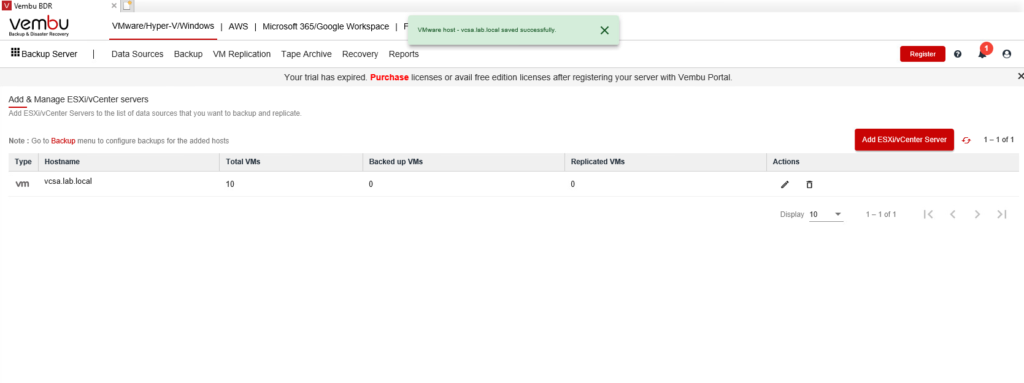
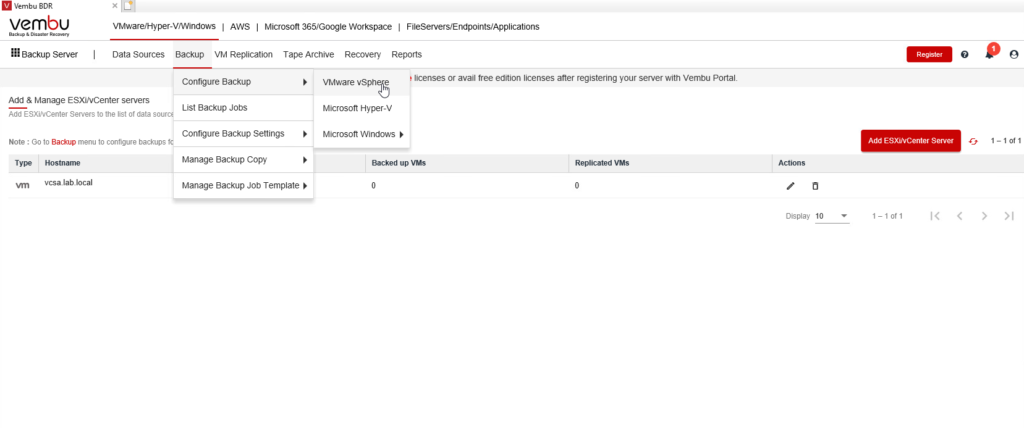
The next step is to create a backup job.
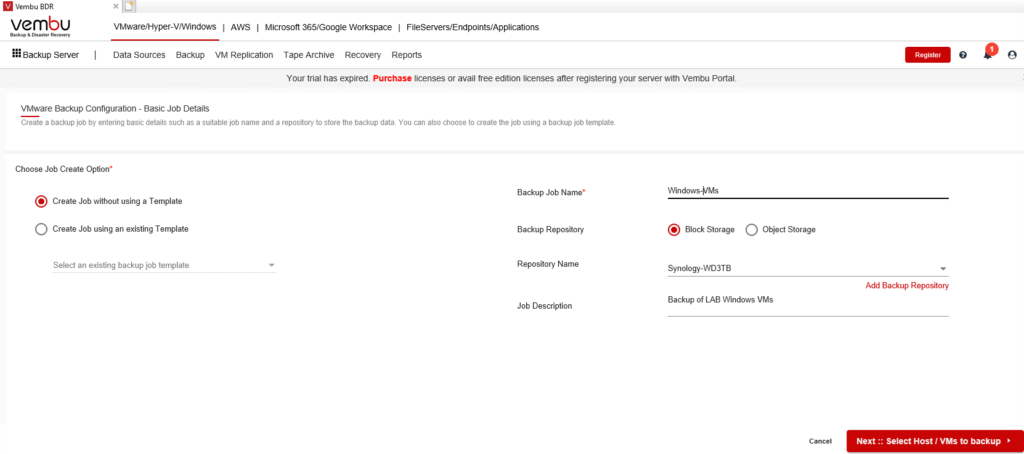
I gave the job a name and description. By Selecting BLOCK STORAGE for the repository, my existing repository is automatically listed. Next we select the hosts/VMs to backup.
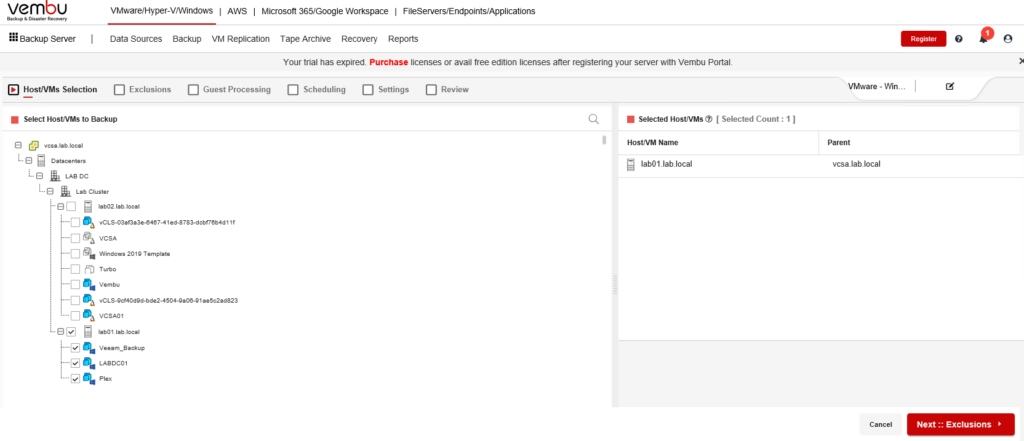
Next, I expand my vCenter to see my environment and manually select the Windows VMs. An option to be able to backup via vSphere tags would be nice here, but I don’t see it here. Next is EXCLUSIONS.
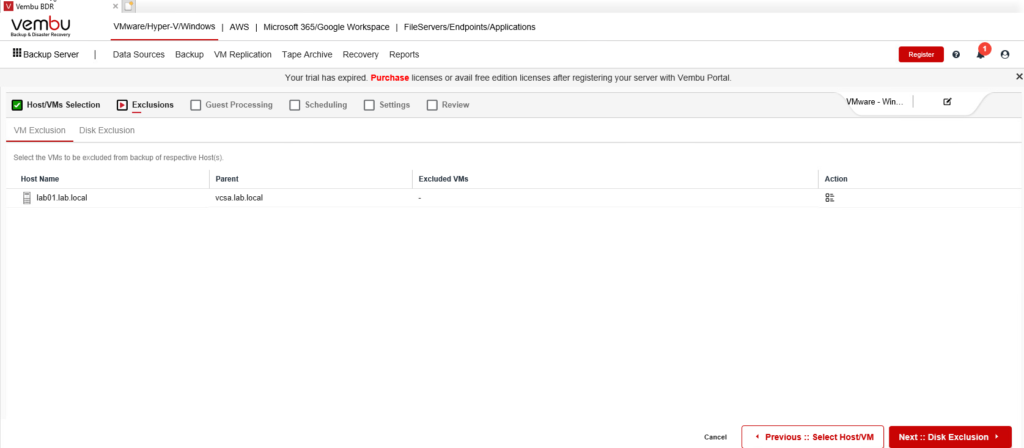
As I selected the VMs manually, I have no VMs to exclude. Next to DISK EXCLUSION.
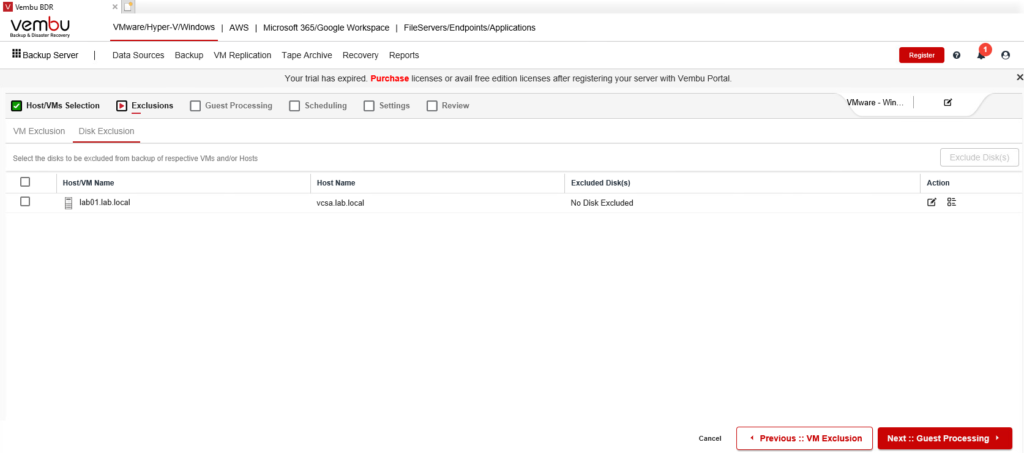
Nothing to exclude here, Next to GUEST PROCESSING.
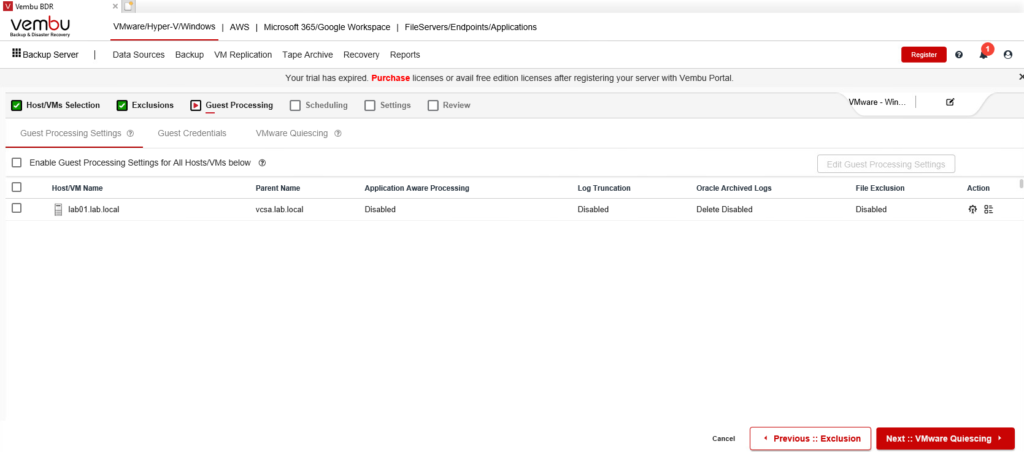
As this is just a lab, I don’t need to enable guest processing. Next is VMware QUIESCING.
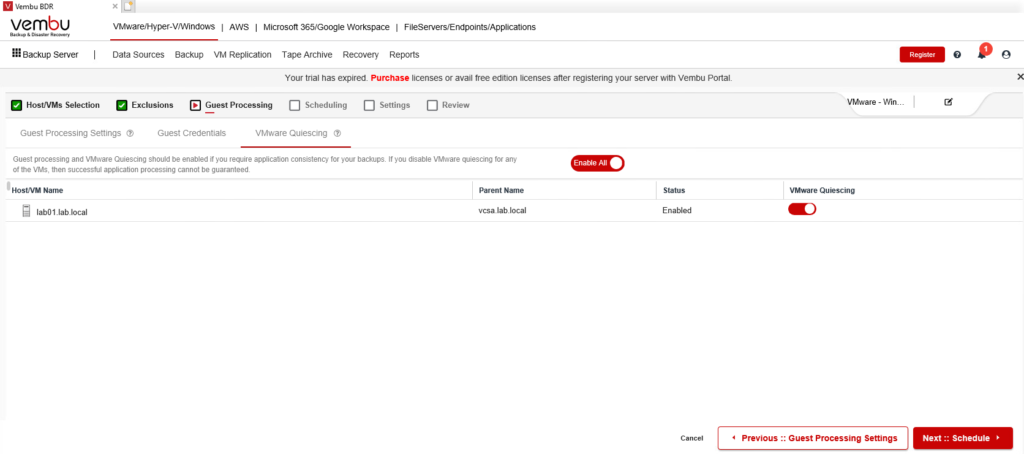
I’ll leave the defaults here and click NEXT to SCHEDULING.
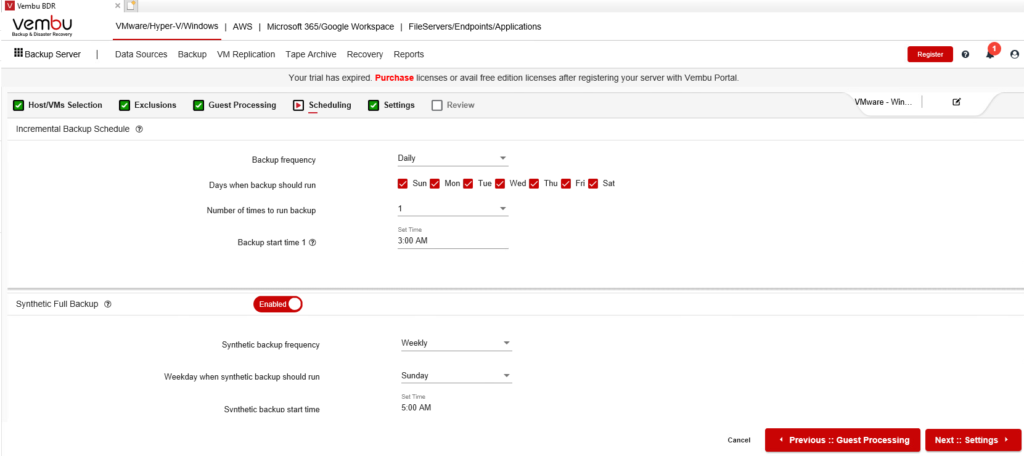
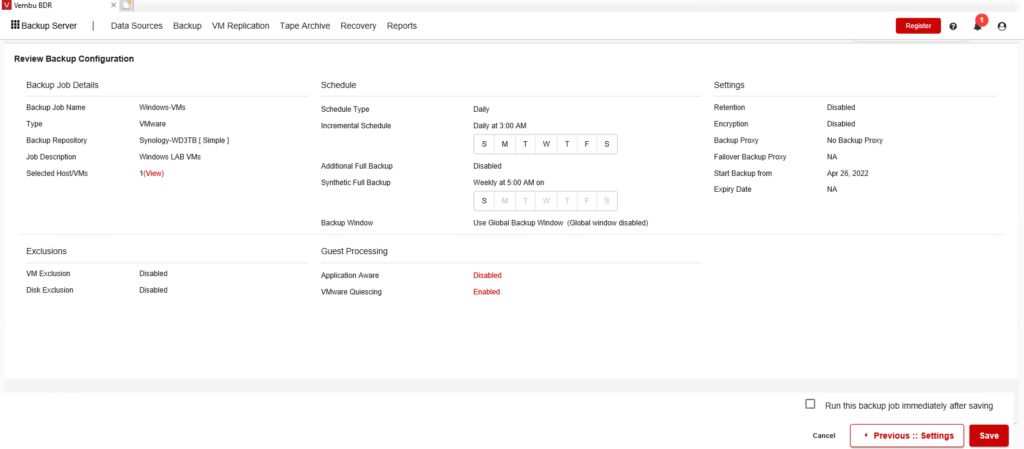
I set a backup schedule and decided to enable Synthetic Full Backups to run once a week. Next is SETTINGS.
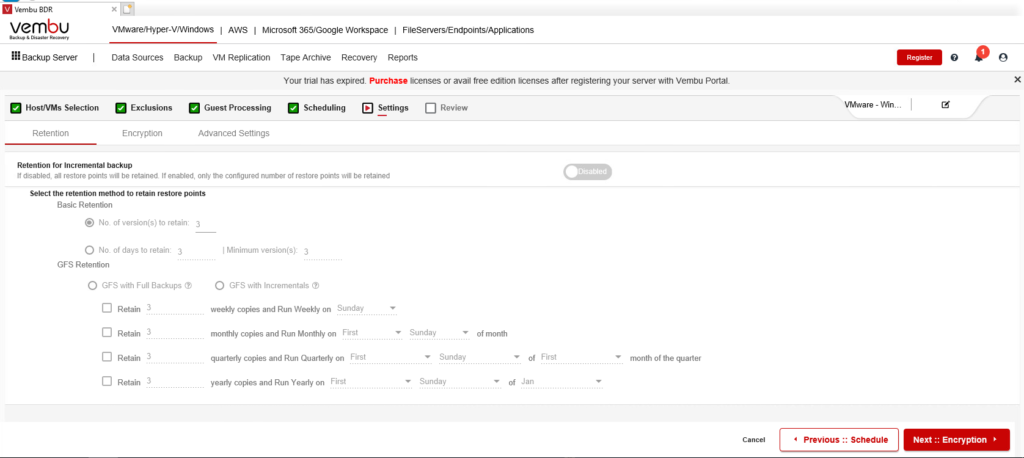
I’ll leave these settings as default since the job is running nightly and click Next to ENCRYPTION.
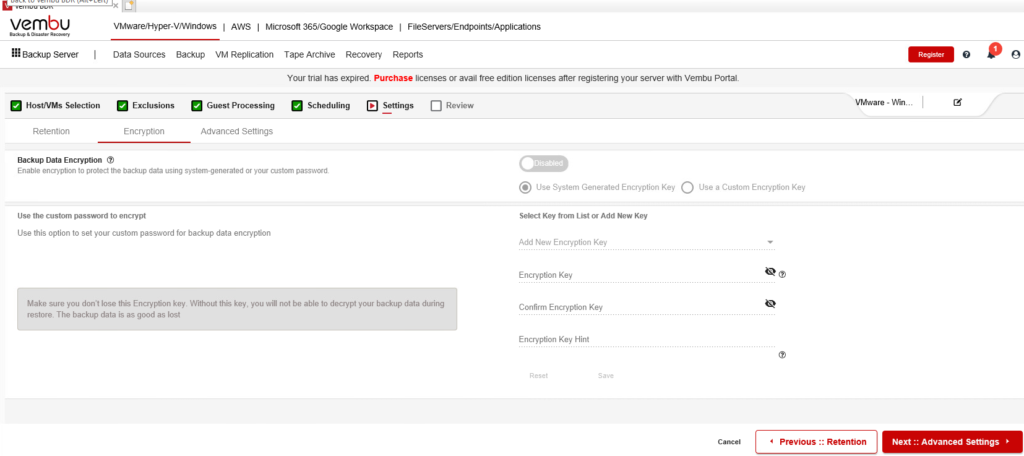
Since this a lab environment, I’m not encrypting anything. On to ADVANCED SETTINGS.
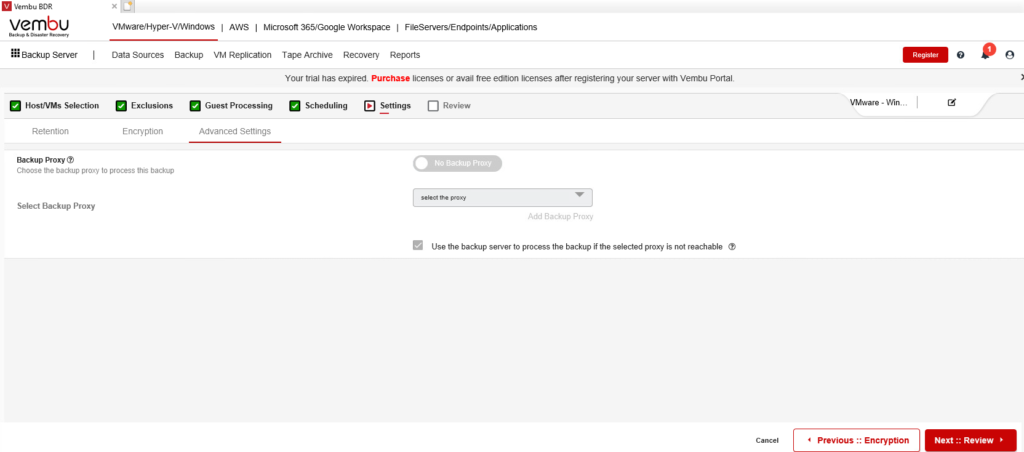
I don’t have any backup proxies configured as yet so I’ll leave this default and go on to REVIEW.
Review the options and click SAVE.
Confirm by clicking SAVE.

Check out the other posts in my Vembu BDR Series:
Part 1 – Deploying Vembu BDR Suite (System Requirements)
https://www.thelowercasew.com/deploying-vembu-bdr-suite
Part 2 – Deploying Vembu BDR Suite (Installation)
https://www.thelowercasew.com/deploying-vembu-bdr-suite-part-2-installation
Upgrading Vembu BDR Suite to version 5.2.0
https://www.thelowercasew.com/new-vembu-bdr-suite-release-version-5-2-0
Want to get more information on Vembu?
Vembu VMware Product Page
Vembu BDR Suite Download Page
Look for my next post on Vembu BDR Server next month!
Ben Liebowitz, VCP, vExpert
NJ VMUG Leader
