Deploying Vembu BDR Suite (Part 2 – Installation)
Next in my Vembu series, we’ll take on the task of Installing Vembu BDR Suite. To do this, I followed the installation guide found here.
The first step is to make sure you’re downloading the most recent version. Visit the link here to download the latest version. In this post, I’ll be installing Vembu BDR Suite version 5.1.0.

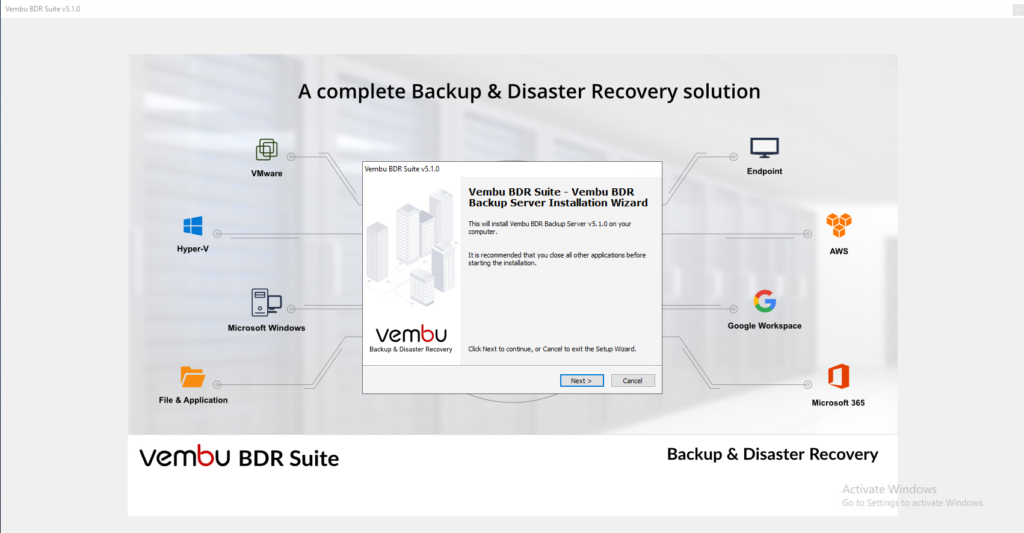
After launching the setup file, I was greeted with the Installation Wizard. As I’m ready to proceed, I clicked NEXT.

After reading the License Agreement 😉 I clicked “I accept the terms of the license agreement, and clicked NEXT.

Next up was Installation type. As this is for my home lab, I went with Standalone Installation.

The next screen, you can choose where to install the Vembu BDR Backup Server. I created a 500gb Thin provisioned D drive (as the system requirements mentioned .1% to .5% of data to be backed up), so I’m going to install it there.

Choose where you want to store the Database. As I choose the D drive in the previous step, this defaulted to D here also.

On the next screen, you can customize settings like the web console username/password, does the windows service run as local system or a domain account, the ports it runs on, etc.

I customized the settings a bit. Make sure you leave the Windows Service Account as Local System Account during installation. You can change it to a service account later.

If you try to set a service account now, you’ll get this message.

Next, I decided to leave the username as admin, but changed the password to something of my choosing.

Finally, we’re ready to go. Click INSTALL!

The wizard will now install Vembu Backup Server on your server.

When the installation is complete, you can choose to Start the Vembu BDR Backup Server Application and/or Open the Vembu BDR Backup Server Web Console. I chose to leave both checked.

Look for my next post going over the configuration of Vembu BDR Backup Server!
Ben Liebowitz, VCP, vExpert
NJ VMUG Leader
