Upgrade Drives in your Synology NAS to Increase Space
The current setup in my Synology DS1517+, 5-bay NAS is three 4TB SATA drives and two 512gb SSD drives. The first storage pool is setup in a RAID-5 configuration, netting me 7.8TB of usable space. The SSD drives are setup in a RAID-1 config, netting me a total of 442.7gb of usable space. Storage Pool 1 is split up into 3 different volumes. Volume 1 is used for my media server & on-site backups and the other two volumes are used for Datastores for my VMware Home lab, as is the 4th volume, my SSD drives are the “flash” tier of storage for my lab.
Recently, I’ve been noticing that I’m beginning to run out of room on Volume 1. I had a few options.
- Delete backup data / Media from Volume 1.
- This is something I had been doing to keep the drive from running out of space.
- Reduce the amount of storage allocated to the two Datastores and allocate that space to Volume 1.
- This isn’t something I wanted to do. This potentially meant deleting VMs.
- Purchase new drives and upgrade the Storage Pool.
I went with the 3rd option and purchased three Seagate Ironwolf 14tb HDs. Once the drives arrived, I was ready to upgrade my array. Synology supports upgrading your storage pool, one drive at a time, for volumes using the following formats: SHR (Synology Hybrid RAID, RAID 1, RAID 5, RAID 6, RAID 10, and RAID F1. My array is configured using SHR, so I was ready to move forward.
Since my Synology supports Hot Swappable drives, I do not have to shutdown my entire array to perform the upgrade. I can just remove one drive at a time, wait for the data to rebuild on the new drive, and then do that again with the next. At the end, all 3 drives in the pool will be updated and then I can increase the pool size.
To be transparent, I performed these steps once without documenting them to be familiar with the procedure. You’ll see that I’m removing drive 2 here as drive 1 was already replaced. The first step was to remove one of the drives in Storage Pool 1. As Synology has a locking mechanism to keep someone from removing a drive, I had to unlock it first. Of course, I couldn’t locate the locking key that Synology supplies with the unit, so thankfully a set of Allen Keys worked to unlock the drive.
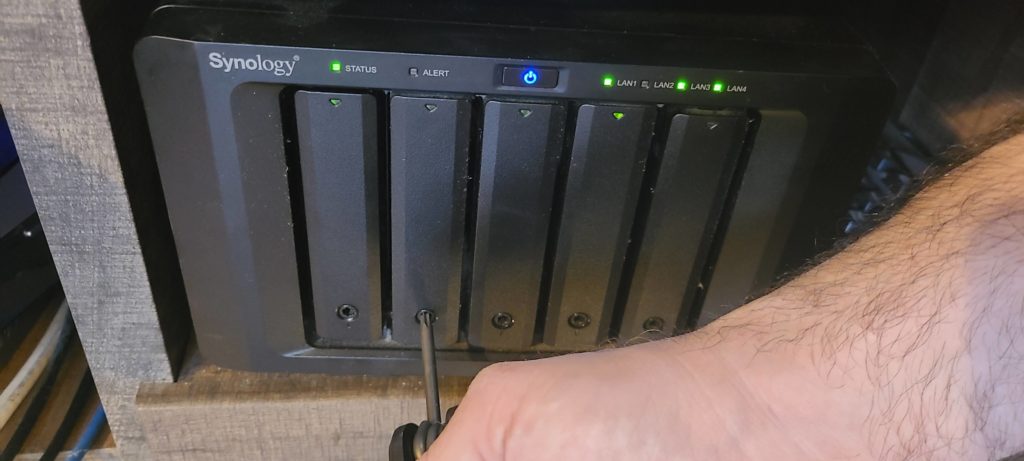
Next, you just press on the bottom of the drive and the handle will pop out.
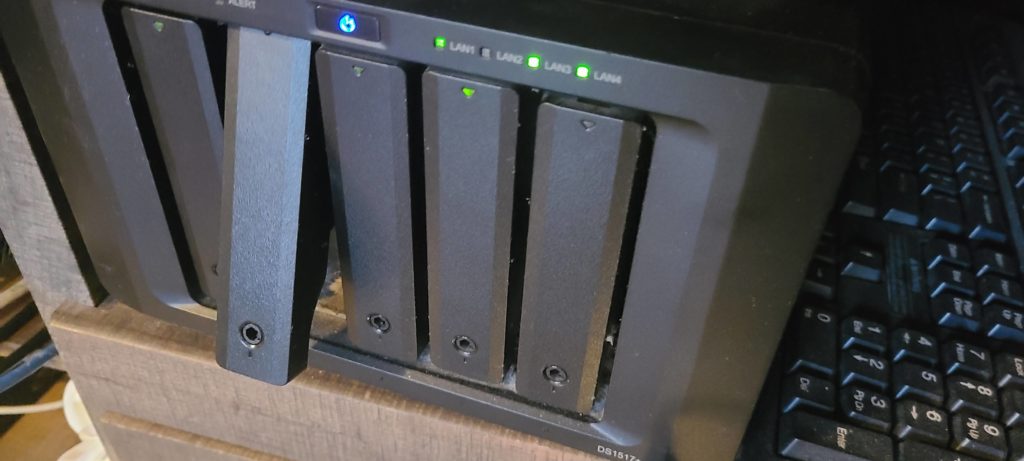
Just pull on the handle, and the drive will slide right out.
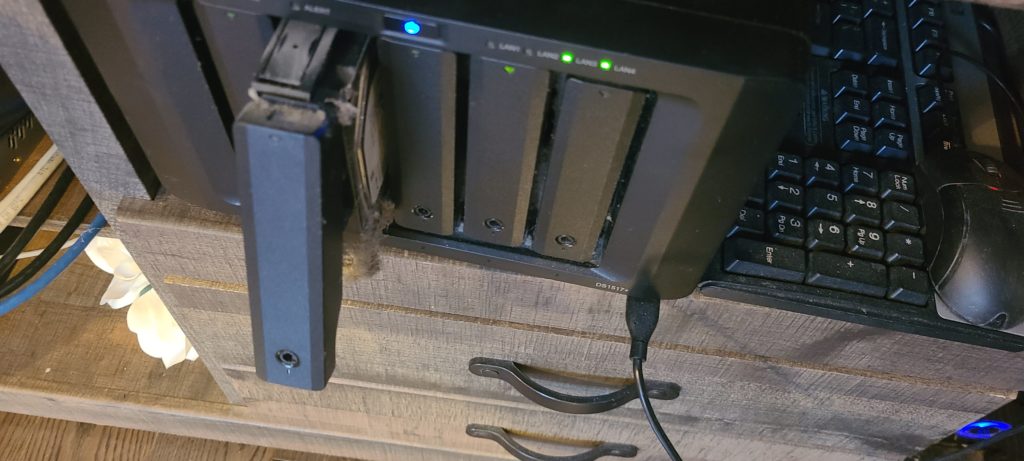
Once you do so, the array will start beeping to alert you that something is wrong. You’ll also see the ALARM light start to flash.
I took the drive to my desk. I had to remove the side rails that hold the drive into the sled. I used a small screwdriver to carefully pull them out.
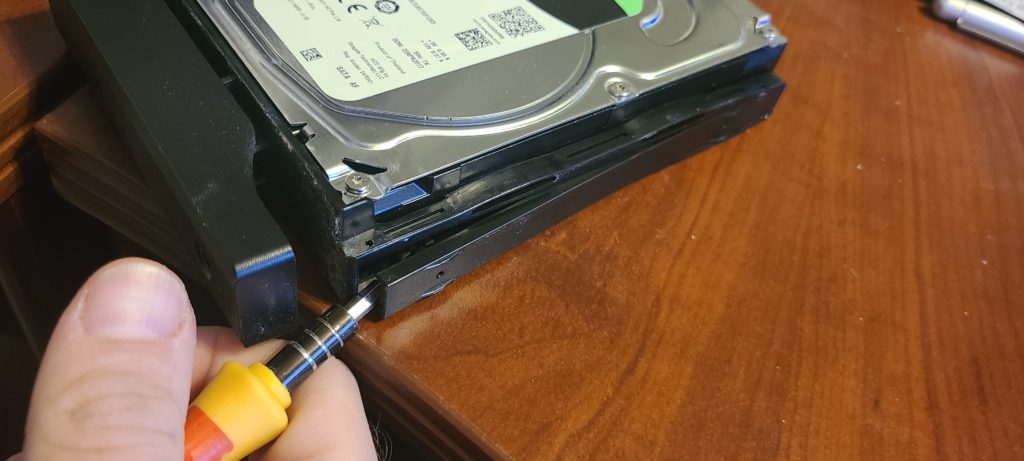
Once I had both side rails removed, I was able to remove the 4TB drive from the sled.
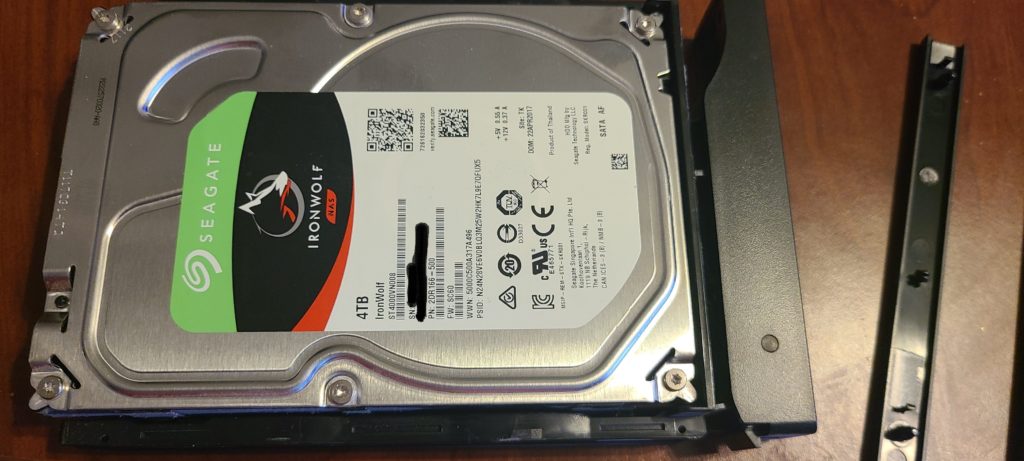
Once I lifted out the 4TB drive, I replaced it with one of the 14TB drives.
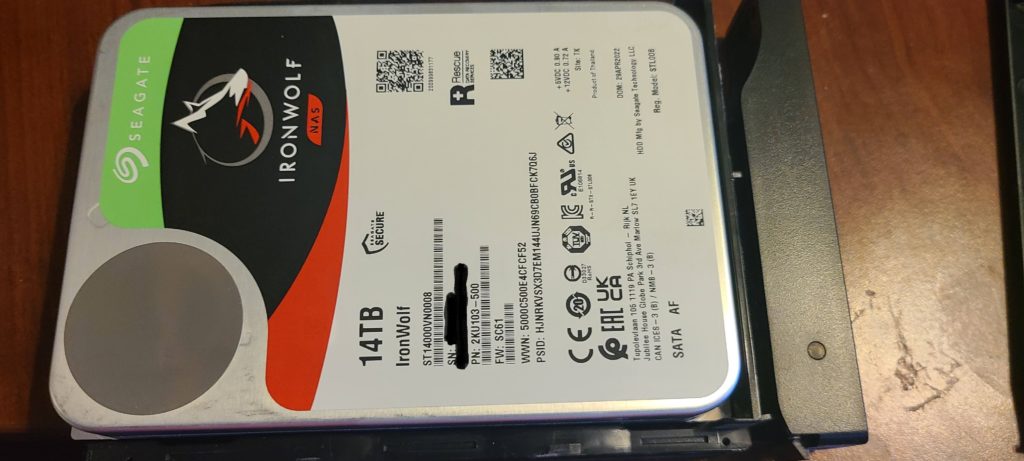
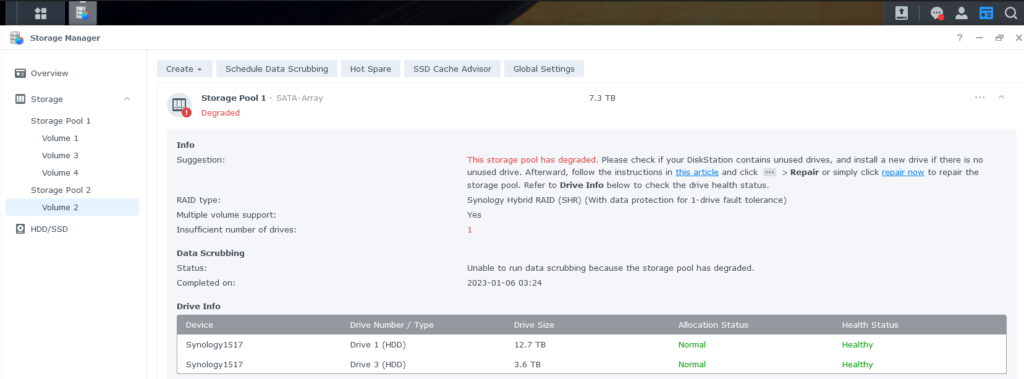
I then re-inserted the drive to the unit and logged into my DSM and launched STORAGE MANAGER. You can see there are only 2 drives in the pool currently (Drives 1 and 3) and the INSUFFICIENT NUMBER OF DRIVES warning is set to 1.
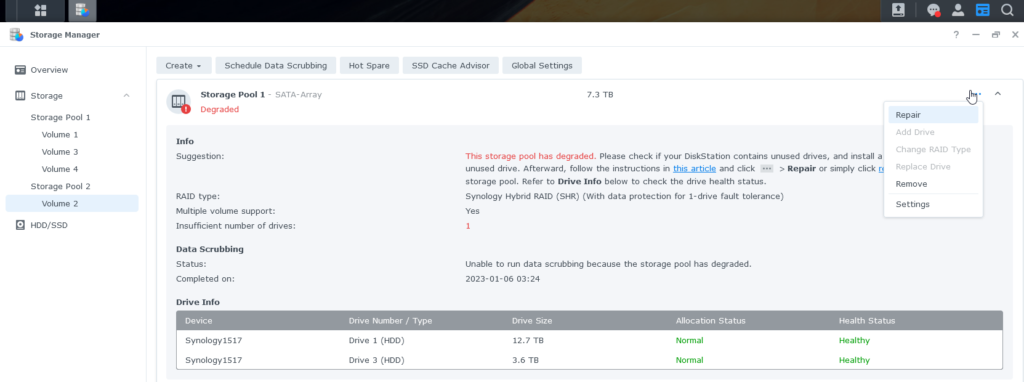
Next, we have to click the 3 dots on the upper right and select REPAIR.
Here, we can select the new drive and click NEXT.

Confirm your selection and click APPLY.

It warns all the data on the new drive will be erased. As it’s a brand new drive, I had no concerns and clicked OK.

Once you do that, you’ll see that storage manager will begin initializing the new drive.
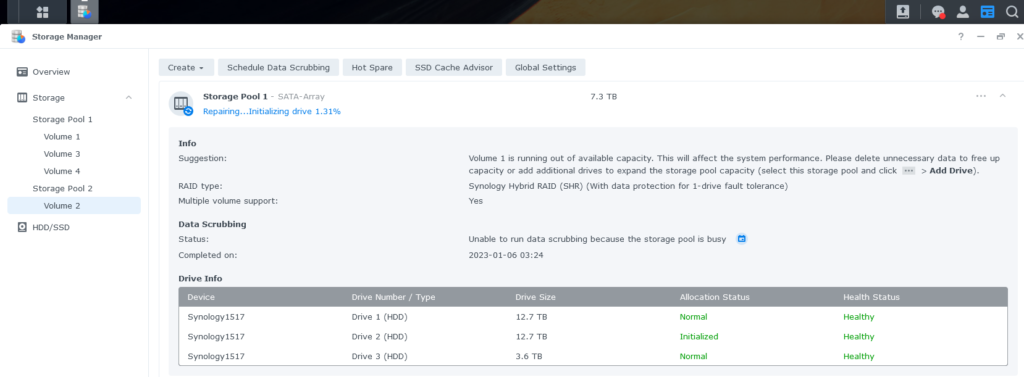
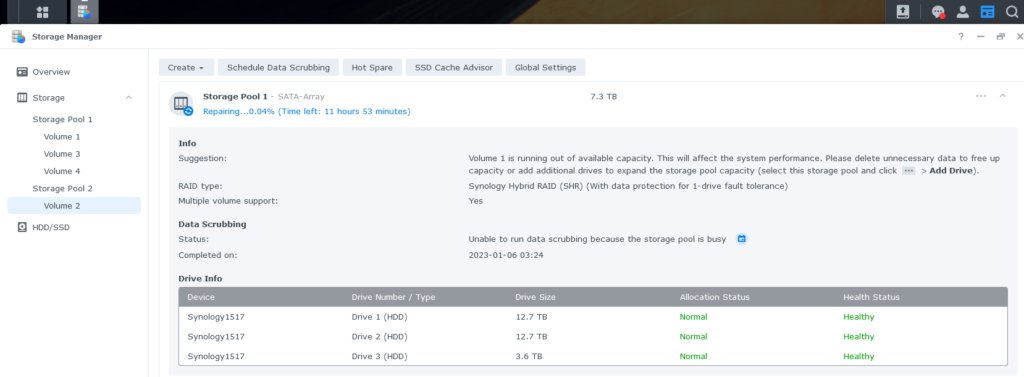
Once it finishes initializing, it’ll begin the repair process. The time estimate varies on the amount of data being rebuilt. Here it’s estimating about 12 hrs.
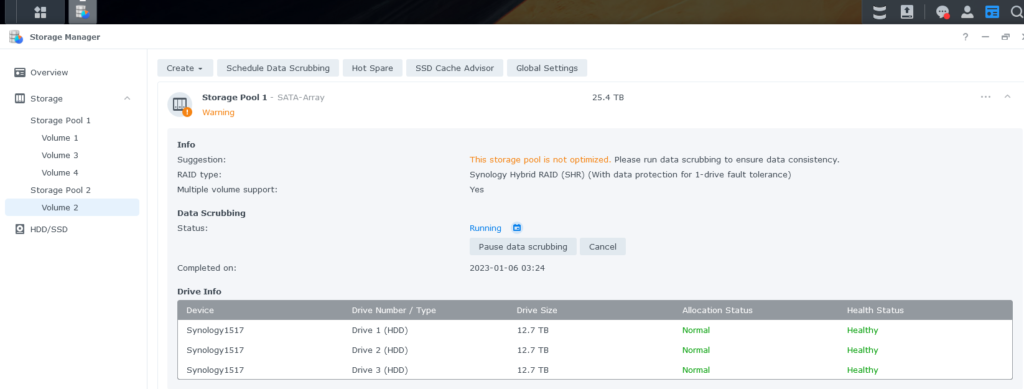
Once I replaced the 3rd drive, it initialized and setup the drive and then had to run data scrubbing across the array, which is still running. However, there is now 25TB of usable space in the storage pool.
Ben Liebowitz, VCP, vExpert
NJ VMUG Leader
